Votre panier est vide

The centuries-old technique of lost wax casting is so much fun and it doesn't require a huge amount of tools to get started. You can use lots of different types of wax to create a model of your design. Wax tubes are very popular for ring making. Most jewellers then take (or post) this model to a casting house where the piece is cast into the metal of your choice. Once the piece has been cast and you receive it back, you will need to remove the sprue (this is the ‘branch’ where the wax piece was connected to the tree for casting), remove the cast surface and clean up your piece.
Using a casting house isn’t your only option, you can also press wax models into Delft Clay to create a mould, which you can then cast yourself using the sand casting method. We recommend using genuine Delft Clay rather than ‘Delft Clay style’, which is also known as petrabond, as genuine Delft Clay is much less likely to crumble.
We have created a handy wax and metal calculator to help you work out how much your piece will weigh once it has been cast in your choice of metal. Wax is much lighter than metal, so this calculator will help you to work out the weight of your piece. Knowing the weight of your piece once it has been cast will allow you to calculate the cost of casting the piece.
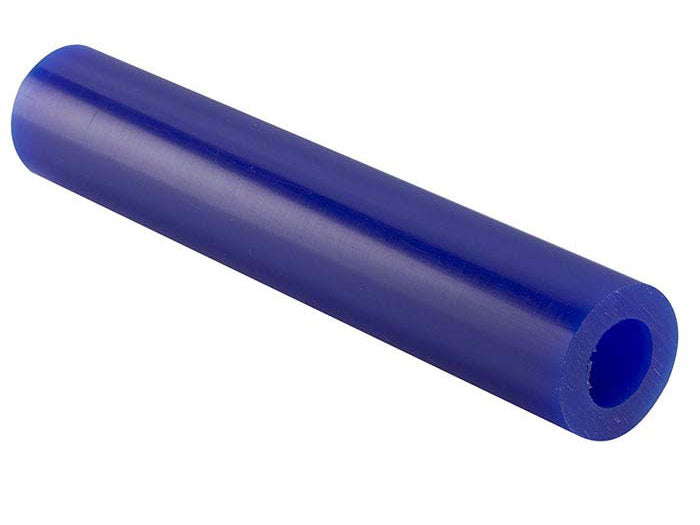
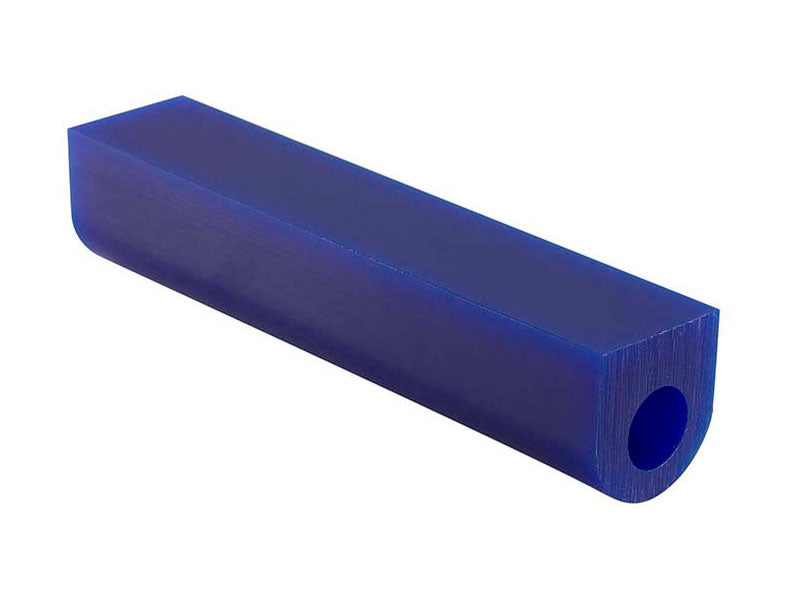
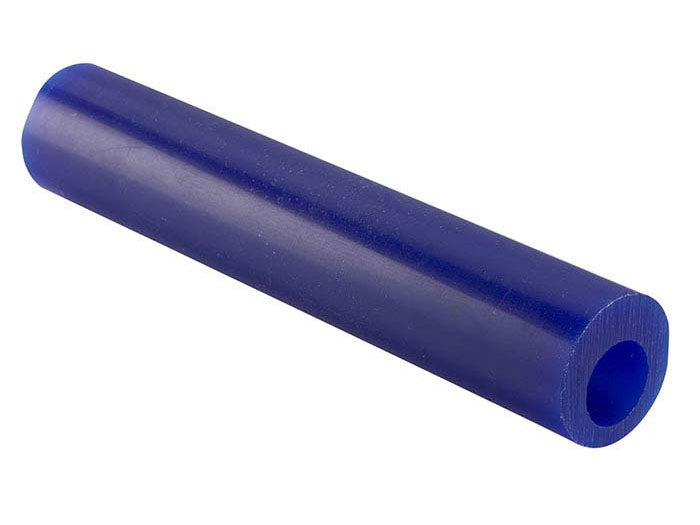
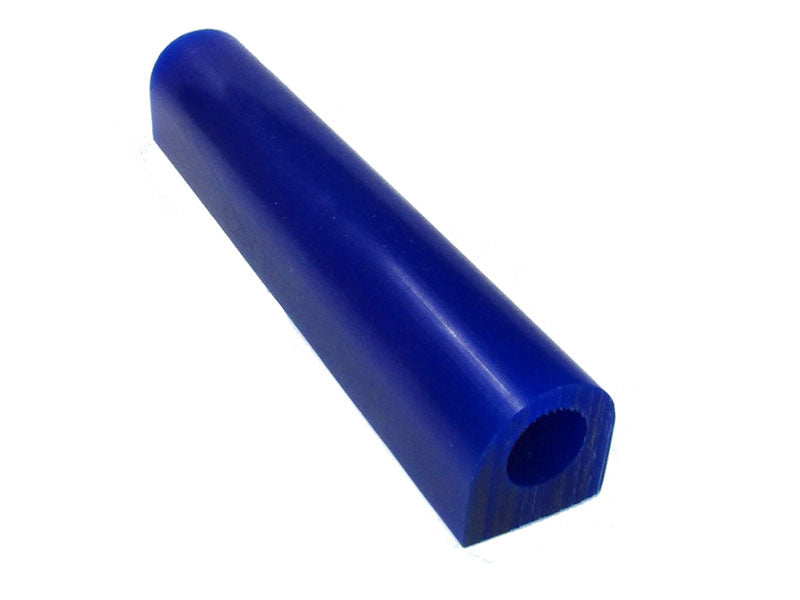
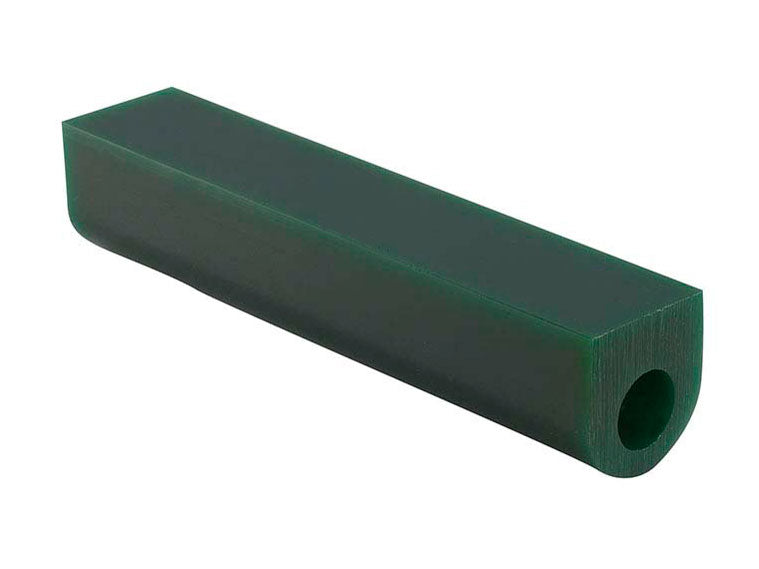
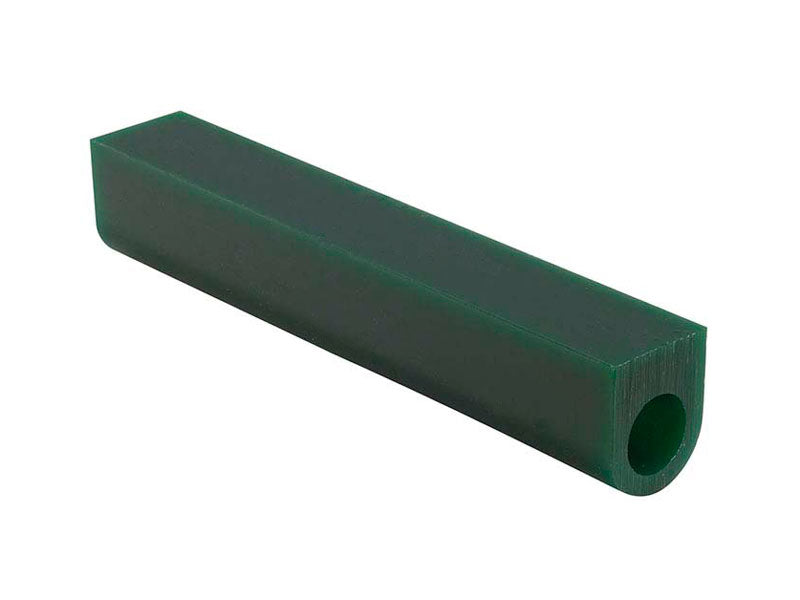
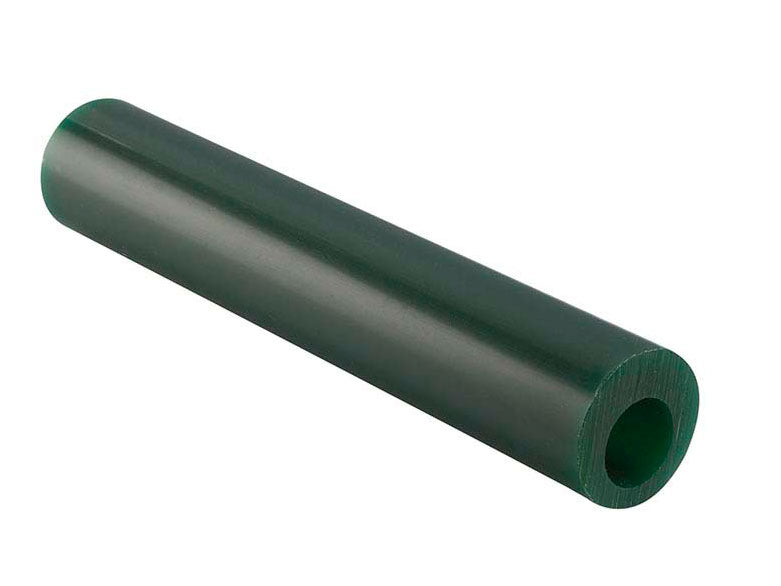
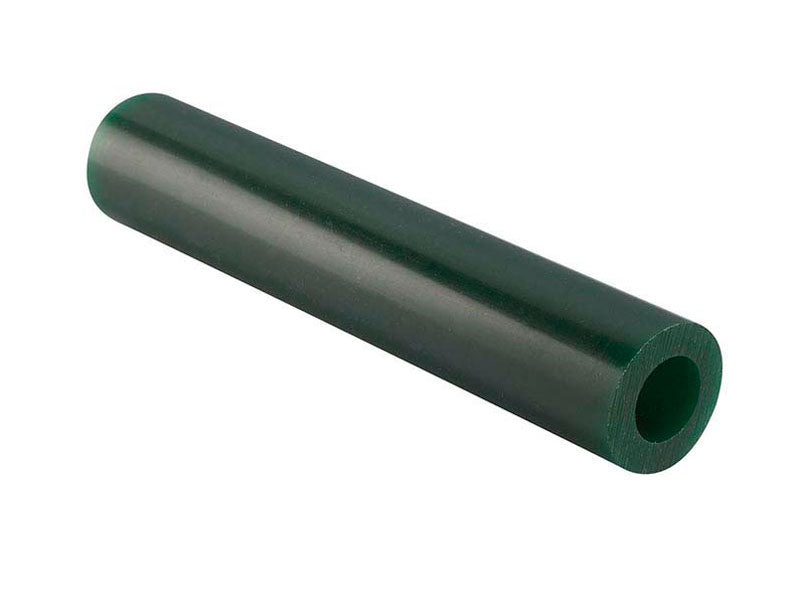
Wax ring tubes are a special type of wax we use in lost wax casting, particularly when you're making rings and other detailed jewellery. These tubes are fantastic for capturing all those tiny details in your designs. You'll be amazed at how quickly you can bring your creative ideas to life. These tubes because they're perfect for beginners and experienced jewellers alike. Flat top tubes such as the A1, A2 or A3 made by Matt Wax are perfect for signet rings.
There's heaps of different techniques you can use to shape your wax, and each one needs specific tools. Depending on your making style, you'll work with tools like a double-ended wax file, soft grip knife and/or wax carving tools to create those lovely fine details. You can also use such as a Max Wax Pen or heat carving tools using an alcohol (spirit) lamp. Just be careful when handling the wax, especially when it becomes thinner as it can be a bit brittle and might crack if you're not gentle. You'll need patience and precision, but the results are absolutely worth it.
When you're making jewellery and carving wax, different colours or wax serve different purposes. Green wax is hard and non-flexible - perfect for sharp edges and detailed work. Purple wax is your all-rounder with a bit of flexibility, and blue wax is more flexible than the others, making it great for rounded surfaces.
Hardness: Very hard, non-flexible.
Ideal for: Sharp edges, intricate carvings, and delicate engravings.
Example: Green dop wax is used to hold cabochons in place during abrasive work.
Purple Wax:
Hardness: Hard with some flexibility.
Ideal for: General-purpose carving and chip-carving.
Example: Matt Purple wax block is a versatile all-purpose carving wax.
Hardness: Less hard and more flexible than green or purple.
Ideal for: Rounded surfaces and less intricate designs.
Popularity: A popular choice for jewellers, especially if you're new to wax carving.
Safety is super important when you're working with wax and the lost wax casting process. You'll need to wear protective gear like safety glasses to keep yourself safe from any hazards. Make sure you're working in a well-ventilated space, so you don't breathe in any fumes. Follow the proper techniques for carving and shaping your wax and be careful when you're melting and pouring metal. Keep all your materials and tools away from kids and pets and dispose of any waste properly. By following these safety tips, you'll have a safe and successful jewellery-making experience.